

'/%3e%3cpolygon%20points='228.5%20230%20228.5%20811.9%200%20811.9%200%20458.4%20228.5%20230'%20fill='rgb(53,%2053,%2049)'/%3e%3cpath%20d='M814.6,227.1C813.9,101.5,711.9,0,586.2,0H0v228.5h586.2v356.3l228.5-228.5v-129.2h0Z'%20fill='rgb(53,%2053,%2049)'/%3e%3cpath%20d='M308.4,1111.8c-25.2,4.5-51.7-.6-71.5-16.8-13.6-11.2-22.6-26.9-25.7-44.3-1.7-9.5-1.7-19-.3-28.6,4.8-31.7,28.7-55.4,59.8-62.2,13.2-2.9,26.6-2.9,39.8-.2,31.2,6.5,55.4,30.2,60.5,61.8,1.5,9.6,1.5,19.1,0,28.6-5.4,32.2-30.4,55.8-62.6,61.6ZM302.2,1085.3c18-3.6,30.7-16.8,35-34.3,2.4-10.1,2.4-20.5,0-30.6-1.8-8-5.5-15.1-11-21.1-11.4-12.7-29.2-16.9-45.8-13.6-18.1,3.6-31.3,16.8-35.5,34.8-2.3,10-2.3,20.3,0,30.3,2,8.7,6.2,16.5,12.5,22.8,11.6,11.5,28.7,14.9,44.7,11.8Z'%20fill='rgb(53,%2053,%2049)'/%3e%3cpath%20d='M89,1047.2l39.9,62.9h-36.5c0,0-36.4-61.5-36.4-61.5h-23.5s0,61.5,0,61.5H1.1s0-149.2,0-149.2h74.9c5.9,0,11.4.9,16.9,2.4,18,5.3,31,19.3,32.1,38.3.4,6.6-.3,12.8-2.5,19-5.7,14.9-18.3,23.2-33.5,26.6ZM91.8,1000.8c-1.2-6.2-5.6-10.8-11.5-12.8-3.2-1-6.3-1.4-9.7-1.5h-38.1s0,38.6,0,38.6h39.7c3.6-.3,6.8-.8,9.9-2.2,8.8-3.9,11.4-12.9,9.6-22.1Z'%20fill='rgb(53,%2053,%2049)'/%3e%3cpath%20d='M771,1075.3h-65.1s-12.7,34.9-12.7,34.9h-33s59.2-149.2,59.2-149.2h39.6s59.8,149.2,59.8,149.2h-35s-12.6-34.9-12.6-34.9ZM762.5,1050.9l-24.4-63.8-23.7,63.8h48Z'%20fill='rgb(53,%2053,%2049)'/%3e%3cpolygon%20points='528.8%201032.8%20594.1%201110.2%20553.5%201110.2%20496.4%201041.2%20496.4%201110.2%20464.7%201110.2%20464.7%20961%20496.4%20961%20496.5%201028.6%20549.4%20960.9%20586.5%20961%20528.8%201032.8'%20fill='rgb(53,%2053,%2049)'/%3e%3c/svg%3e)
At a glance
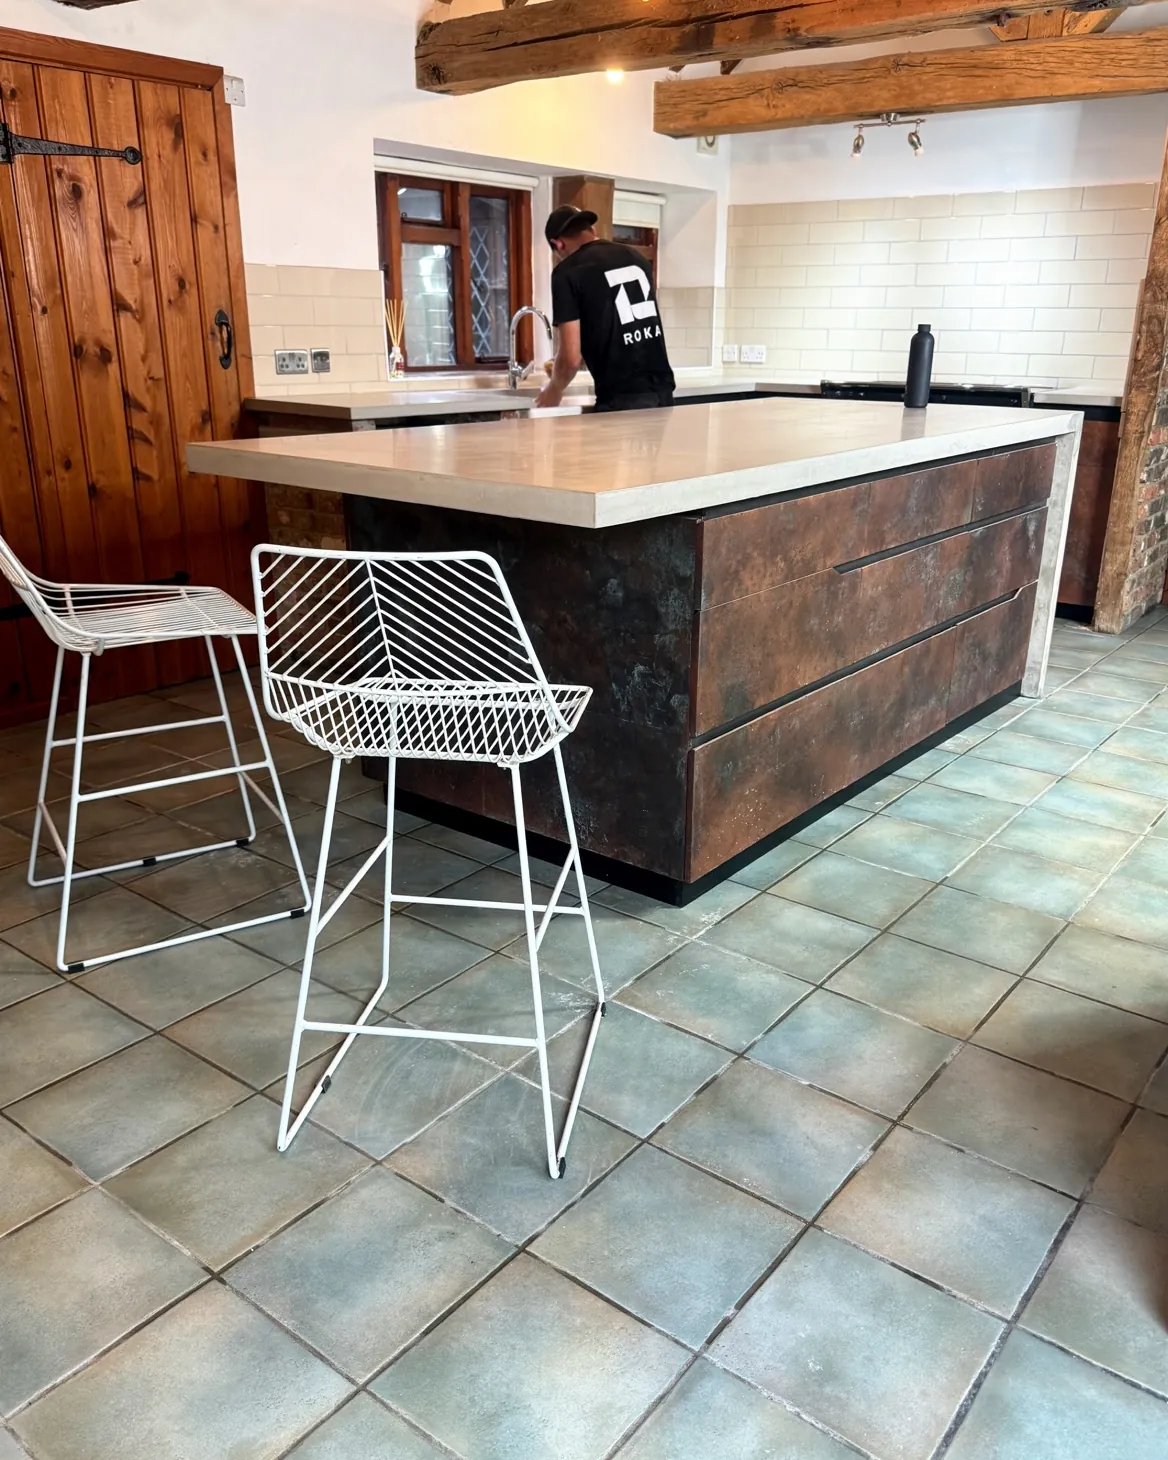
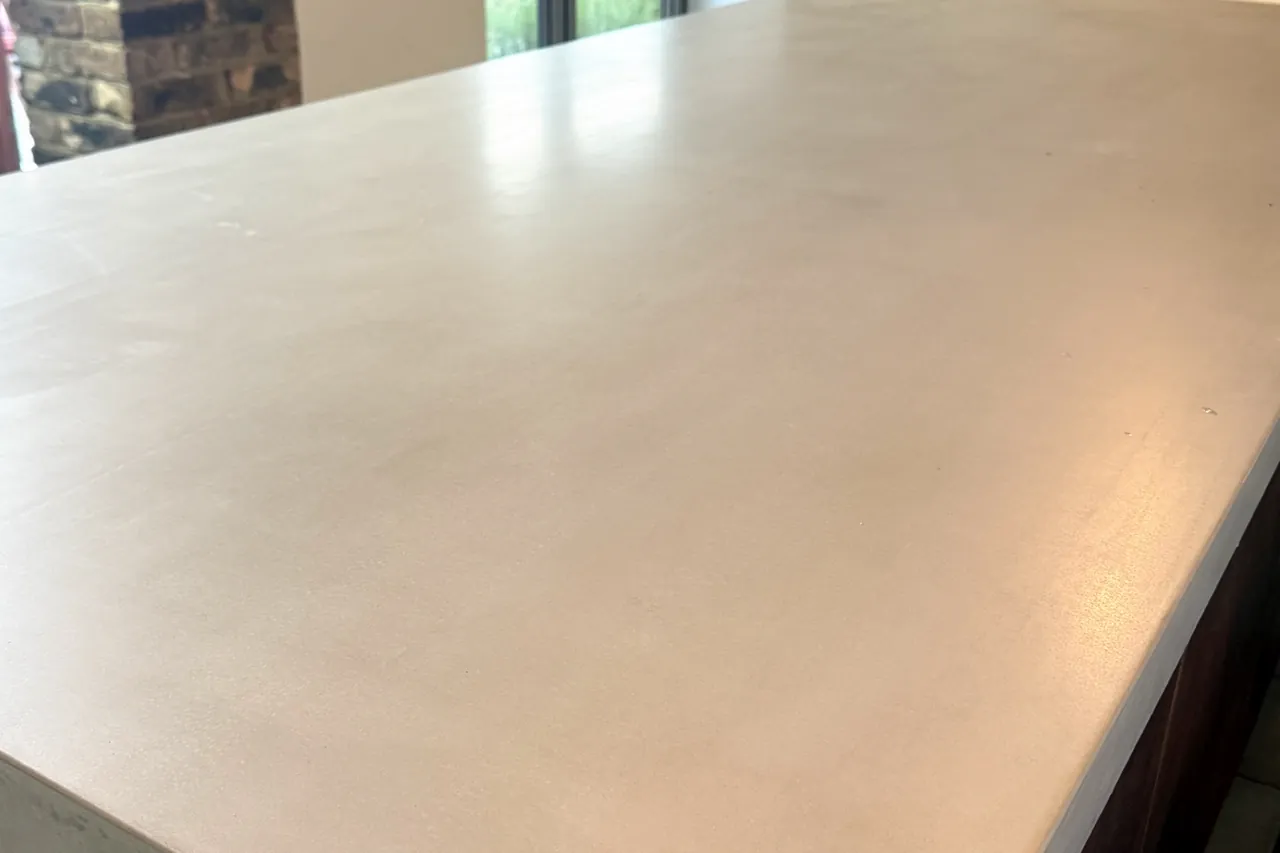
One piece, with a breakfast bar overhanging about 400 mm.
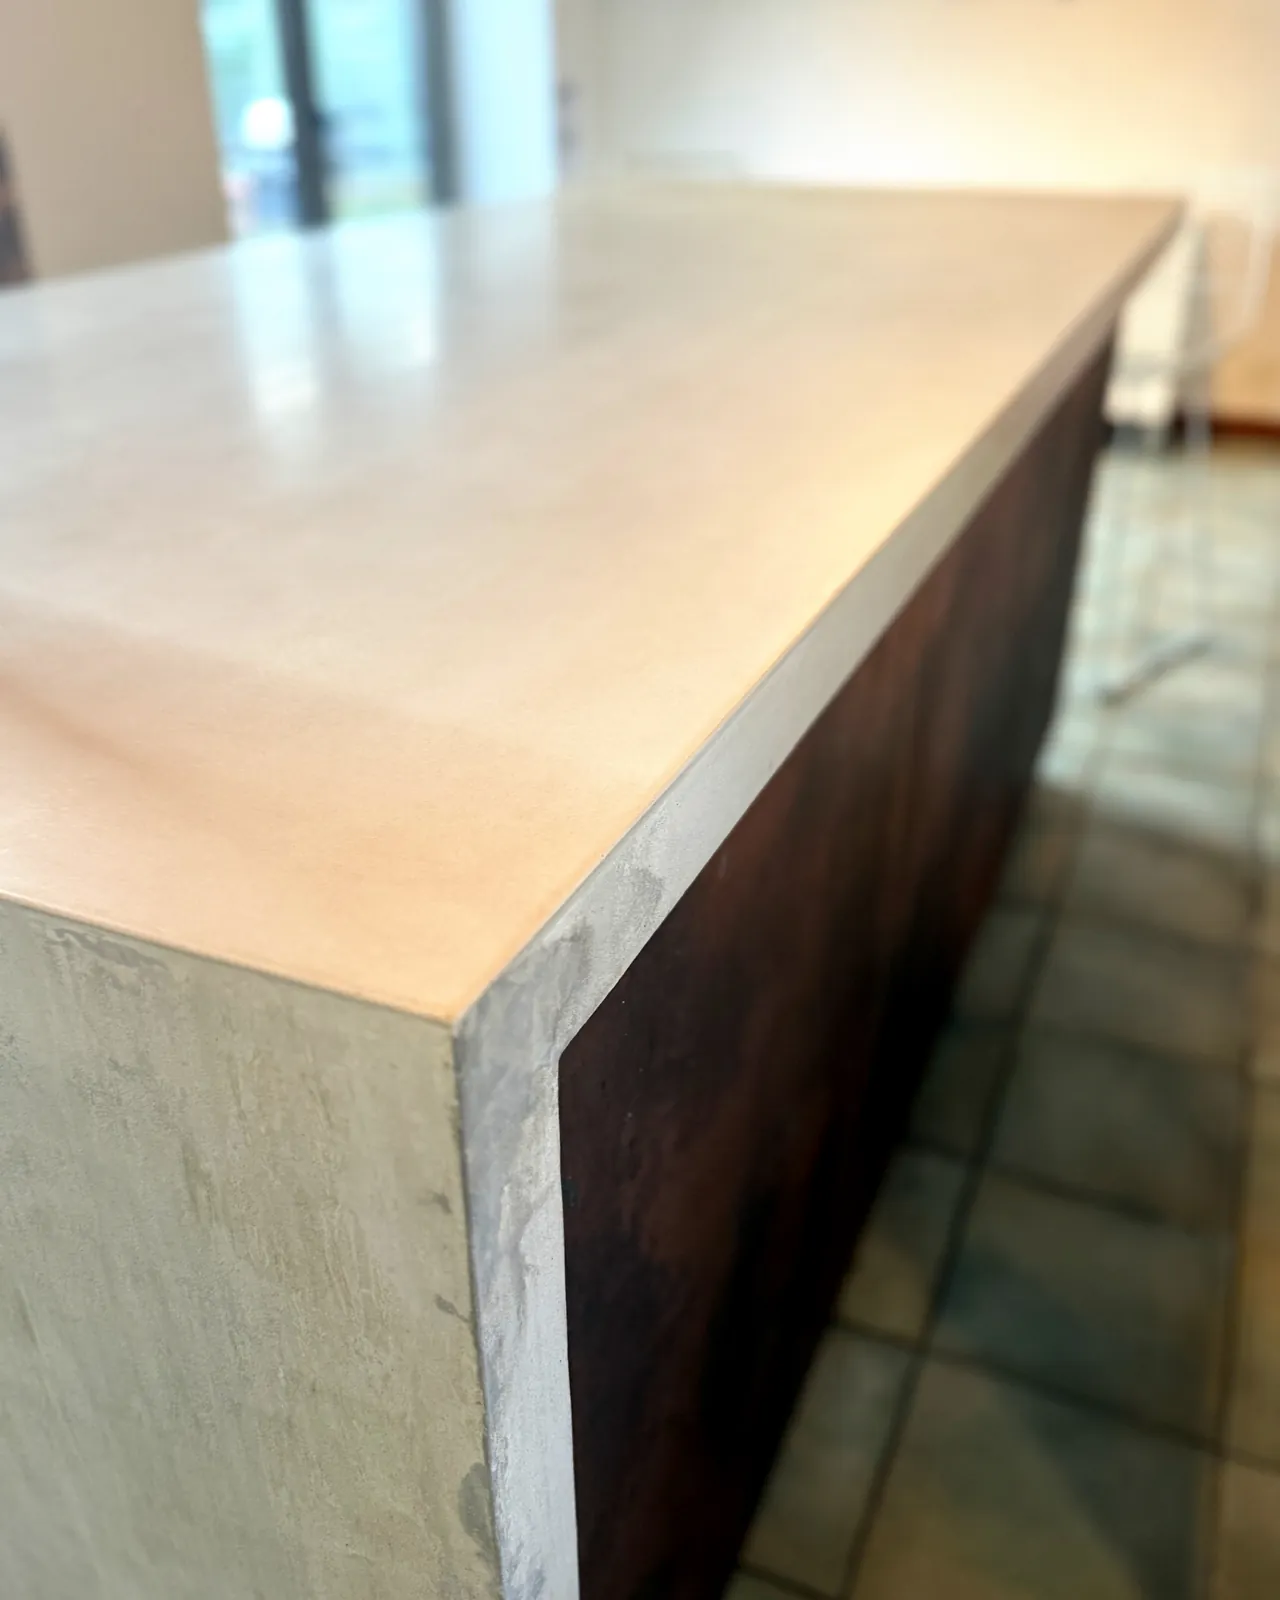
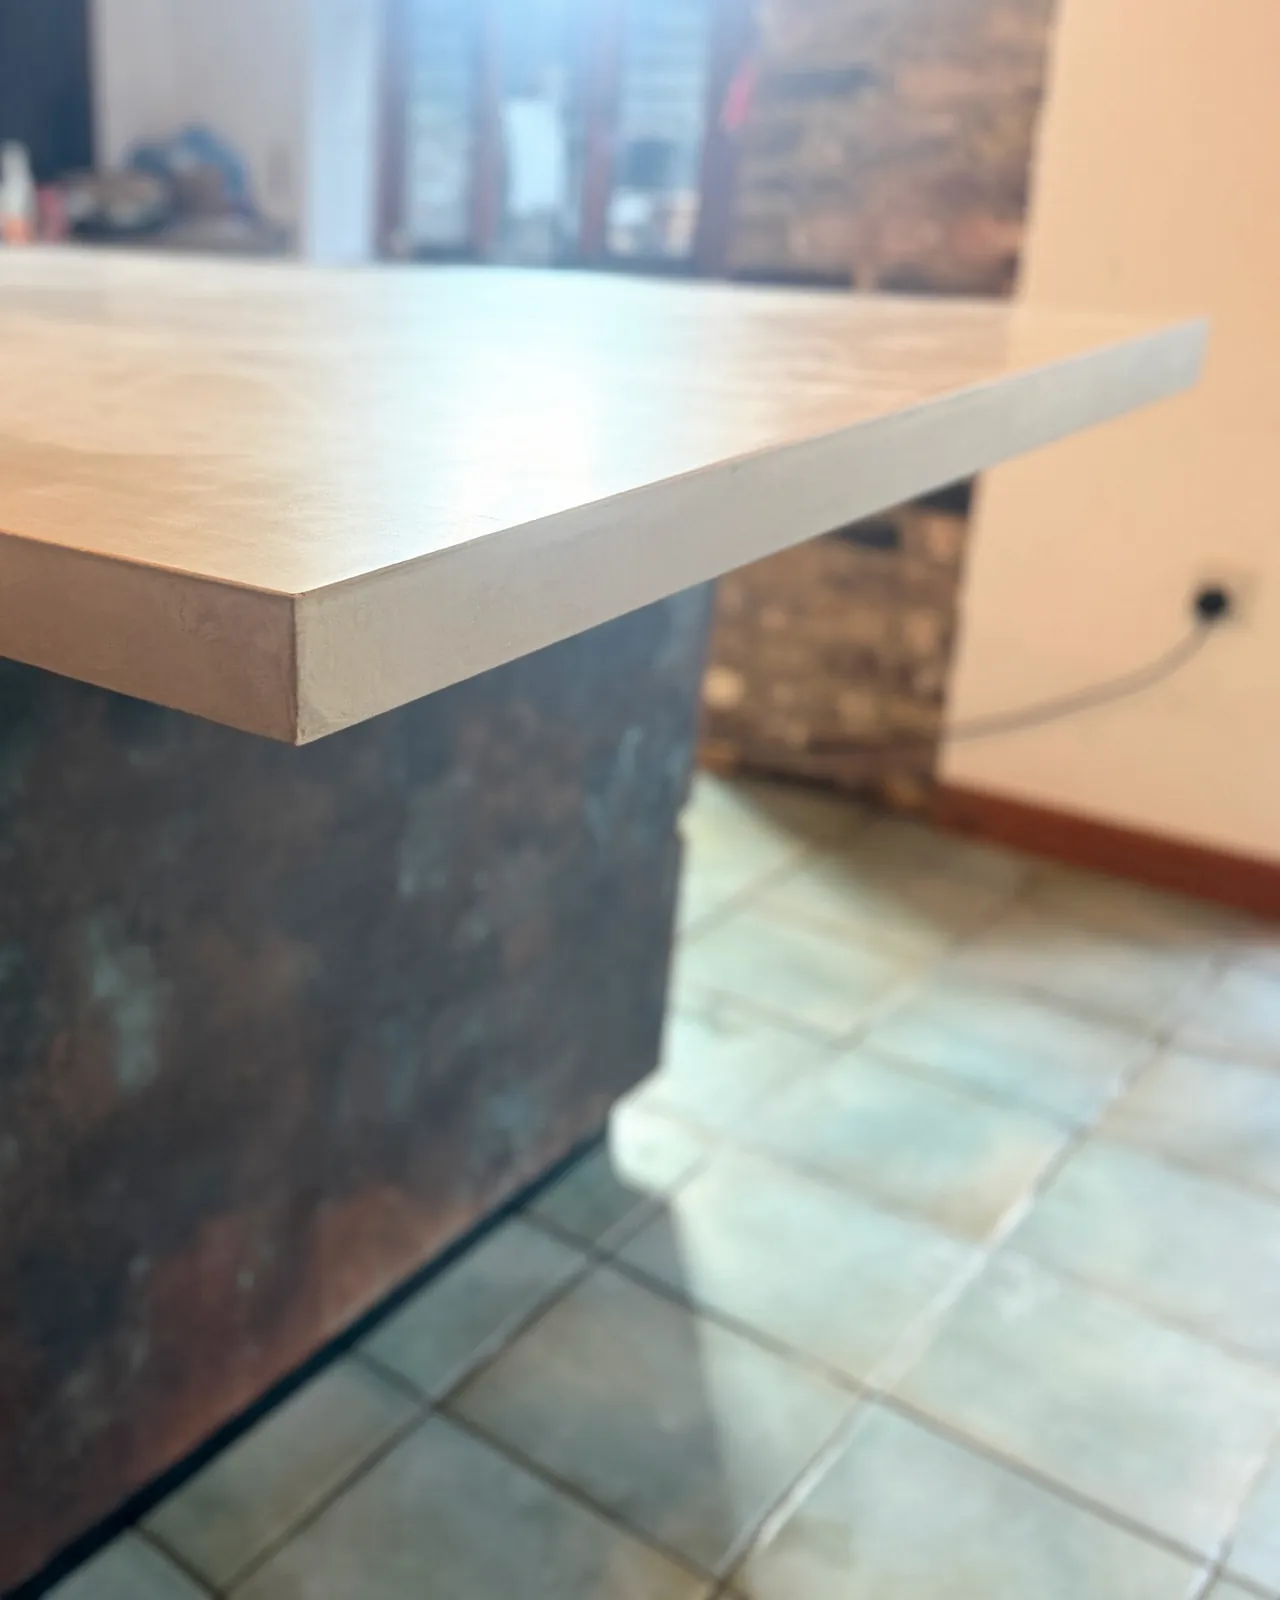
Cast as part of the top. There is no joint at the corner.
With a 60 mm edge all round, so it reads as a solid slab.
Sanded to a matte 800 grit, sealed with SureCrete XS-327.
Nothing in the barn is square
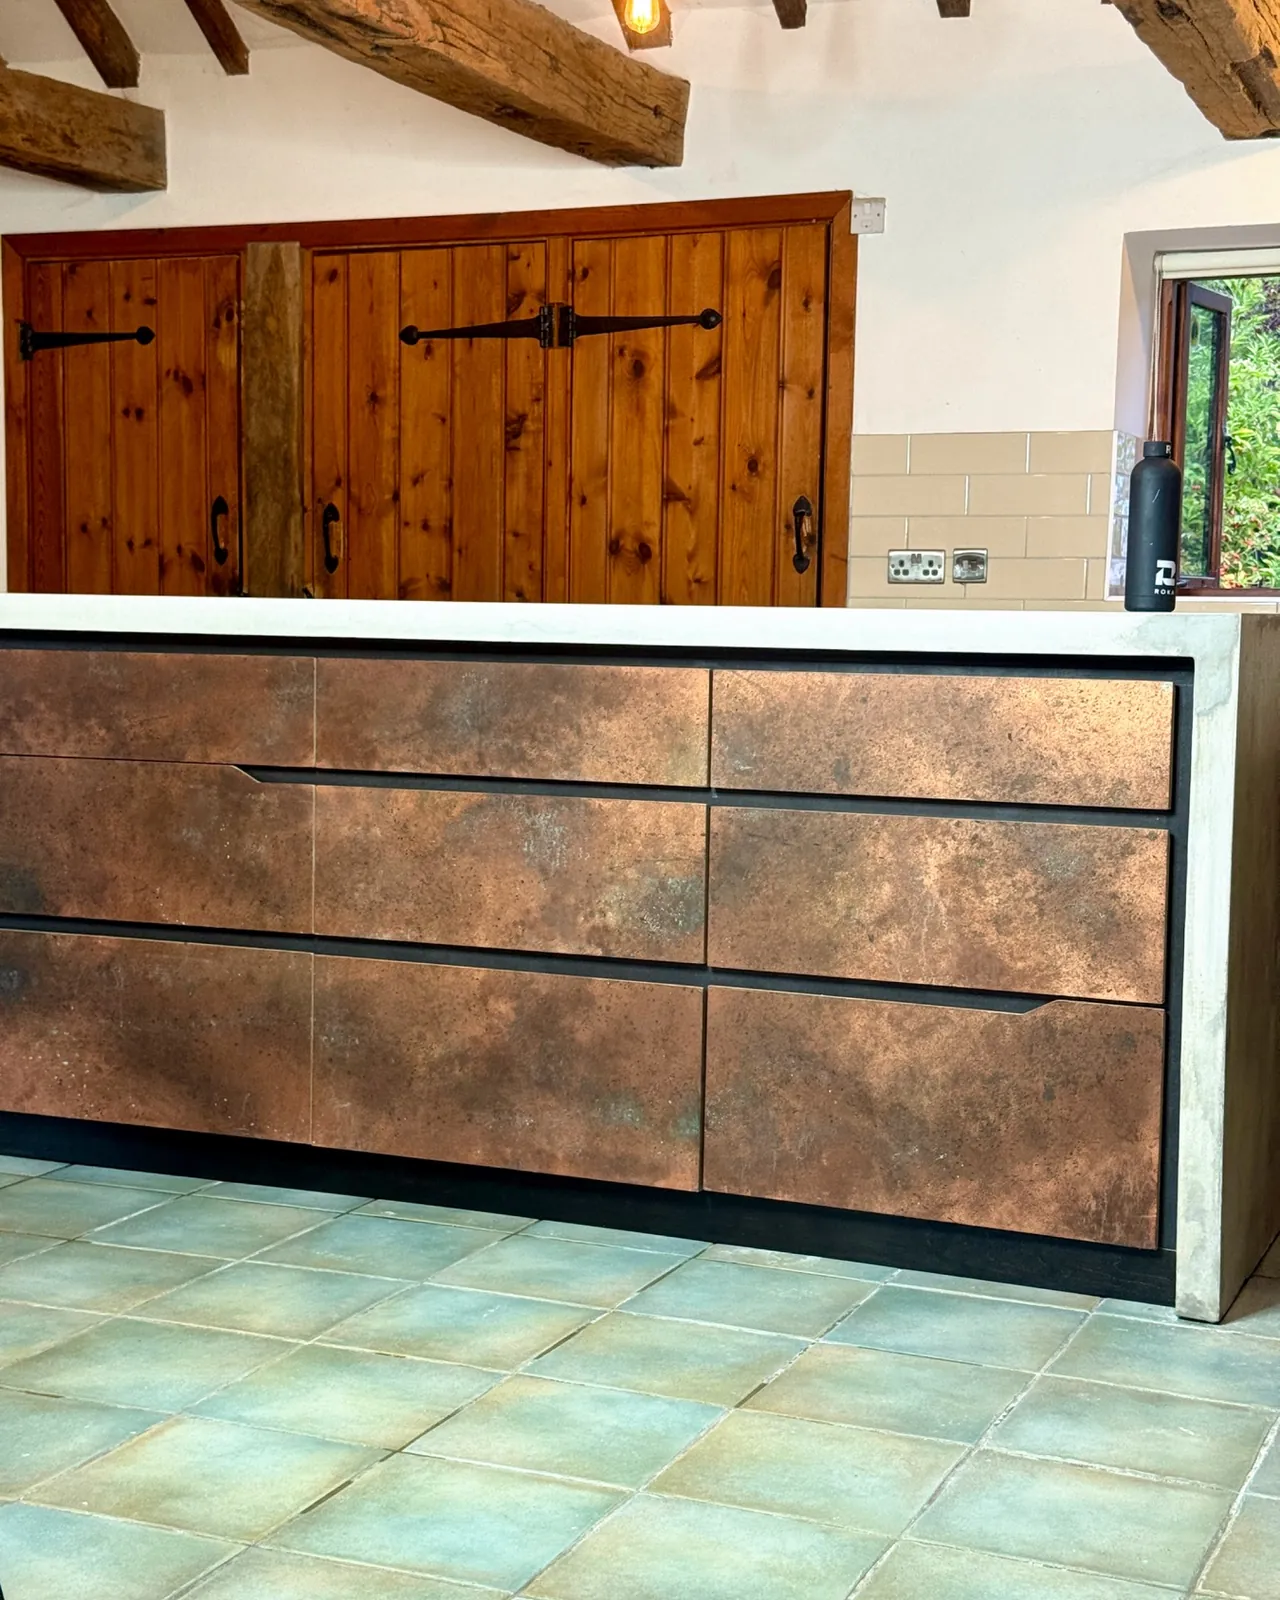
The kitchen is in a very old barn in Steyning, West Sussex. No wall in it is square. The floor is tiled over underfloor heating and can’t be adjusted, the tiles vary by 7 or 8 mm, and the old brick and timber were staying.
So we measured it more than once, down to a brick that pokes out of one pillar. It all went into CAD, to a fraction of a millimetre, and the whole kitchen was built on screen first. Andy and Vicky could see it, and change it, first.
Normally we make the concrete and work alongside your kitchen maker or fitter, and you keep the cabinets and the team you’ve already chosen. Here we made all of it, for two reasons. We wanted control of the cabinets under an island this size and weight. And where nothing is straight, the kitchen had to be engineered to fit.
Cast in the kitchen, upside down
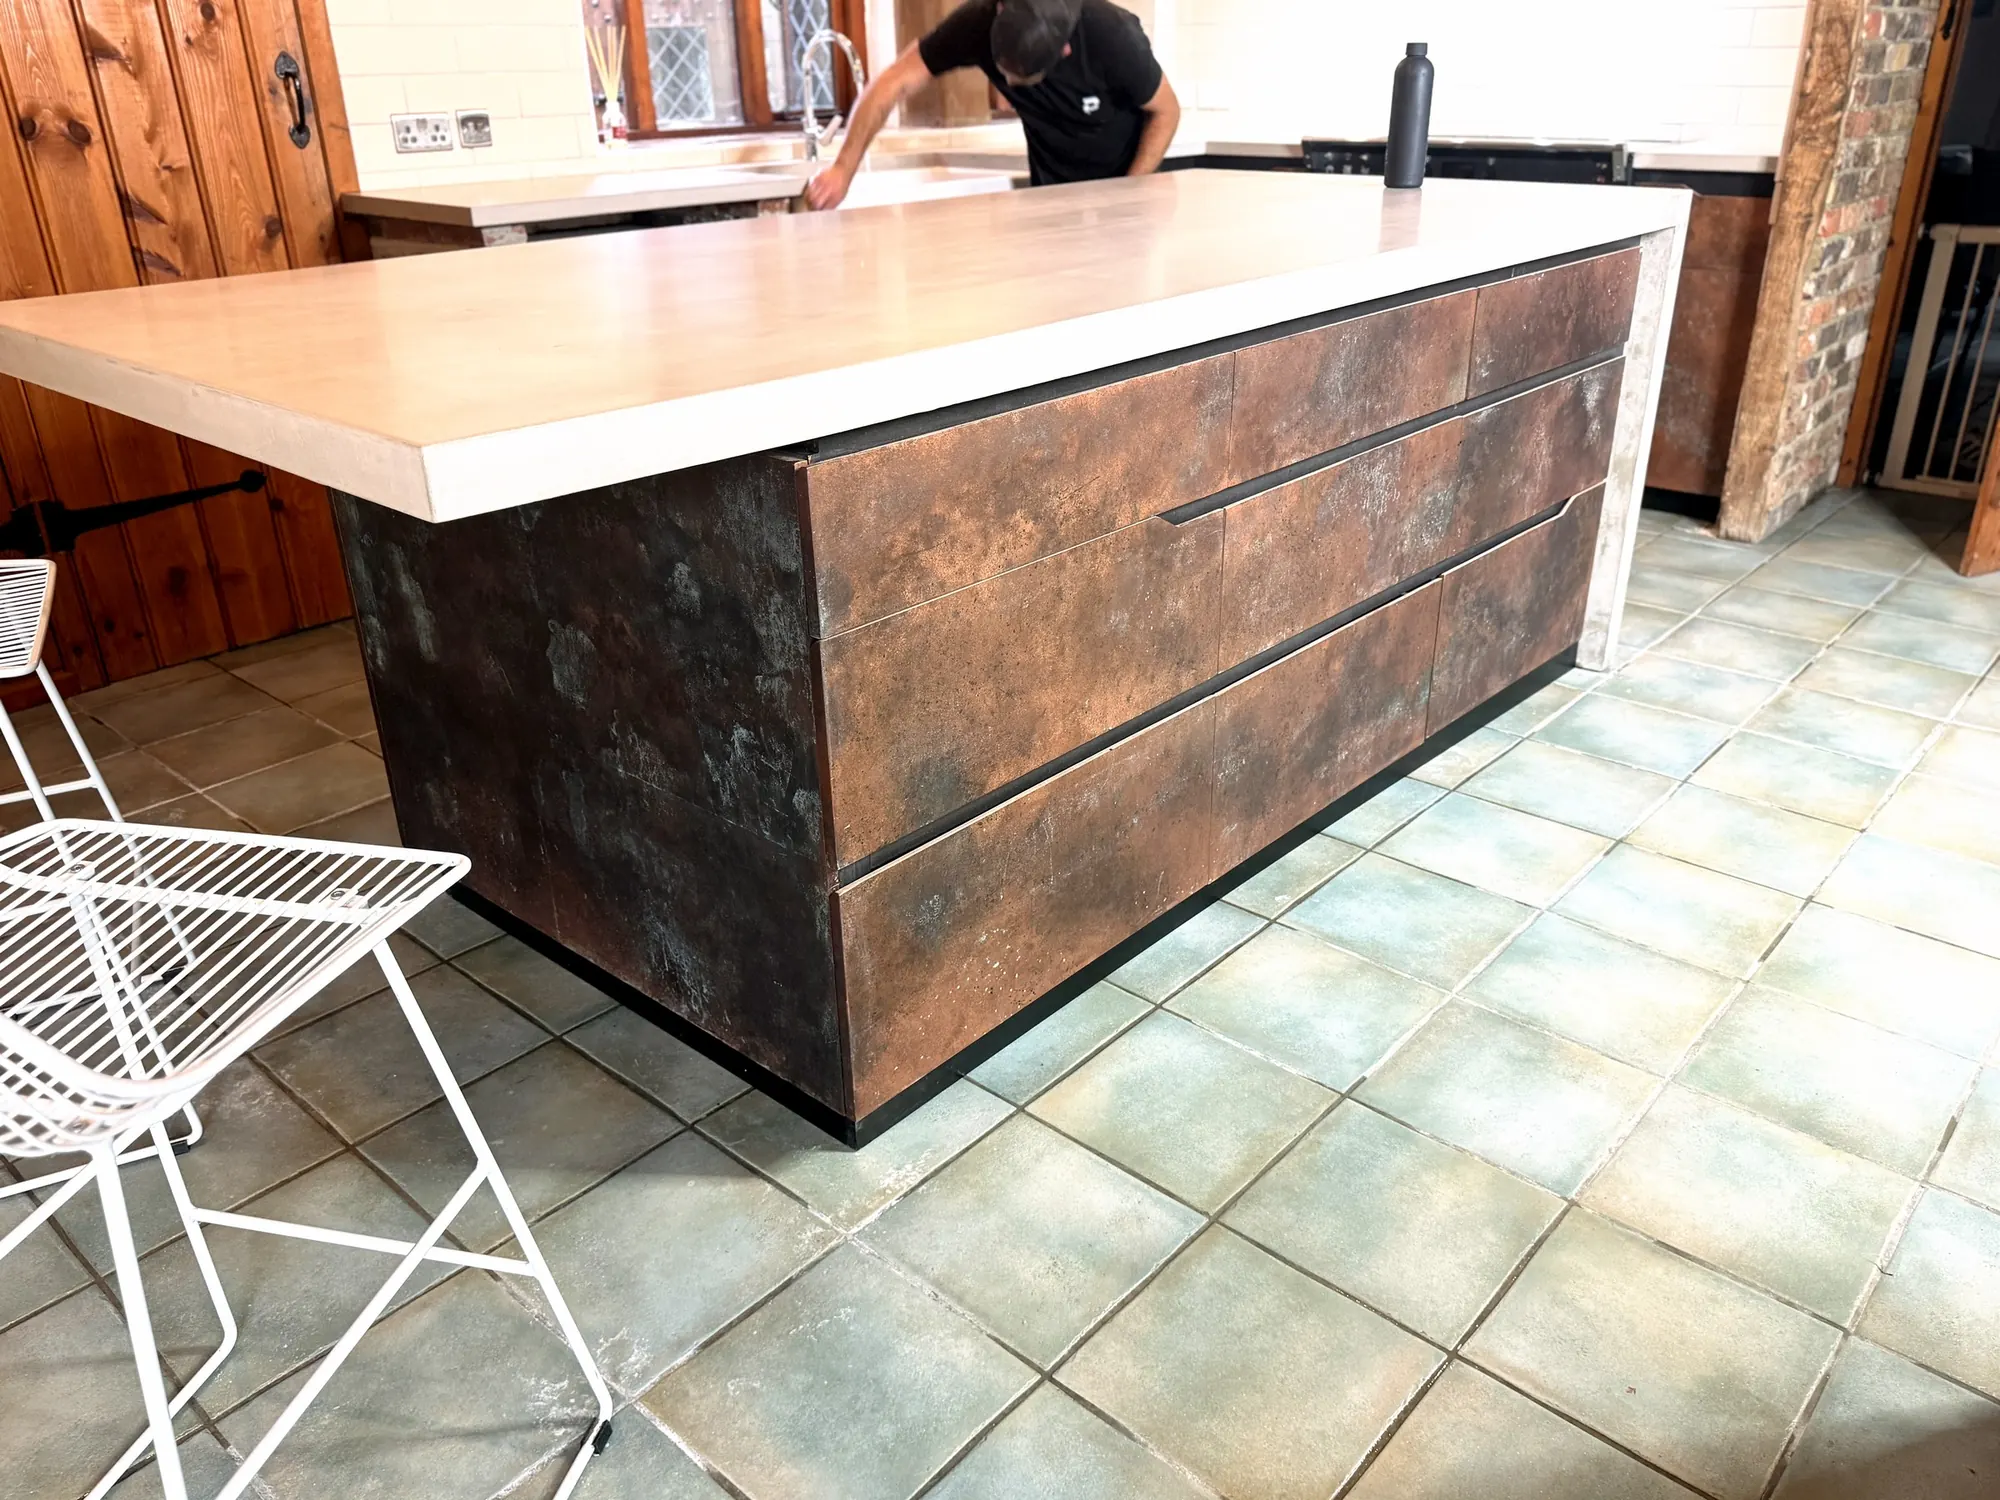
We considered a mitred joint at the corner. But no, this one had to be fully cast, so the top, the edge and the 925 mm leg are one piece.
That makes a piece 2.5 m long with a leg on the end. There was no way it was going through a door, and we weren’t going to cut it in two. So the mould was built in their kitchen and the island was cast there, upside down, with the leg pointing at the ceiling.
We were lucky they had the space.
Every layer on before the last one cures
The island is 20 mm thick, built up in layers. Each one has to go on while the one before is still green, so they bond as a single piece. That means working quickly, mixing the next batch while the last one cures.
Face coat
A few millimetres with no fibres in it. It’s the surface you see and touch.
Backing coat
Glass-fibre reinforced concrete, or GFRC, with alkali-resistant fibre all through it, poured behind the face of the top.
Press mix
A stiffer mix, like clay, pressed up the upright face of the mould, roughly 1 x 1.2 m. That was quite challenging.
Scrim
A full sheet of glass-fibre mesh at 10 mm, the middle of the section, then a last coat to make 20 mm.
Edge
A 60 mm edge all the way round and down the leg, cast around stainless bar bent to follow the corner.
It was hard to work out in the first place, and intense to deliver on the day. Ian, a concrete and joinery specialist, worked on site with us.
The fillers are sized so the small particles pack between the big ones, which makes the concrete denser and less porous. The binder is white cement, metakaolin and GGBS, which cure early, mid and late between them.
Eight people to turn it over.
It cured for a week, wrapped to keep the moisture in. Then eight people lifted it out of the mould and turned it over, with rubber tyres on the floor to stop it chipping or damaging the floor.
Concrete should feel solid
The cabinets went underneath on wheels, the whole lot was rolled into position, and the wheels came out. It’s a properly heavy bit of concrete.
Those cabinets do the opposite of most. Where you’d expect a rail across the top and as little timber as possible, there is as much structure as would fit. The cabinets are Baltic birch ply, more than 160 CNC-cut pieces glued and screwed, because chipboard swells as soon as it gets damp.
Eight adjustable feet take up the uneven floor and keep the cabinet dead flat. At one end the top overhangs about 400 mm as a breakfast bar. Not cracking is the minimum there. If you lean on it and it flexes under your weight, it’s wrong.
If your cabinets would carry a stone top, they will usually carry a concrete one. Long overhangs are the exception. Their support is sized at the design stage, before anything is cast. How a concrete island is held up
Round the rest of the room
The worktops round the room are 40 mm, in the same Chalk, so they look more delicate than the big island in the middle.
Water goes back to the sink
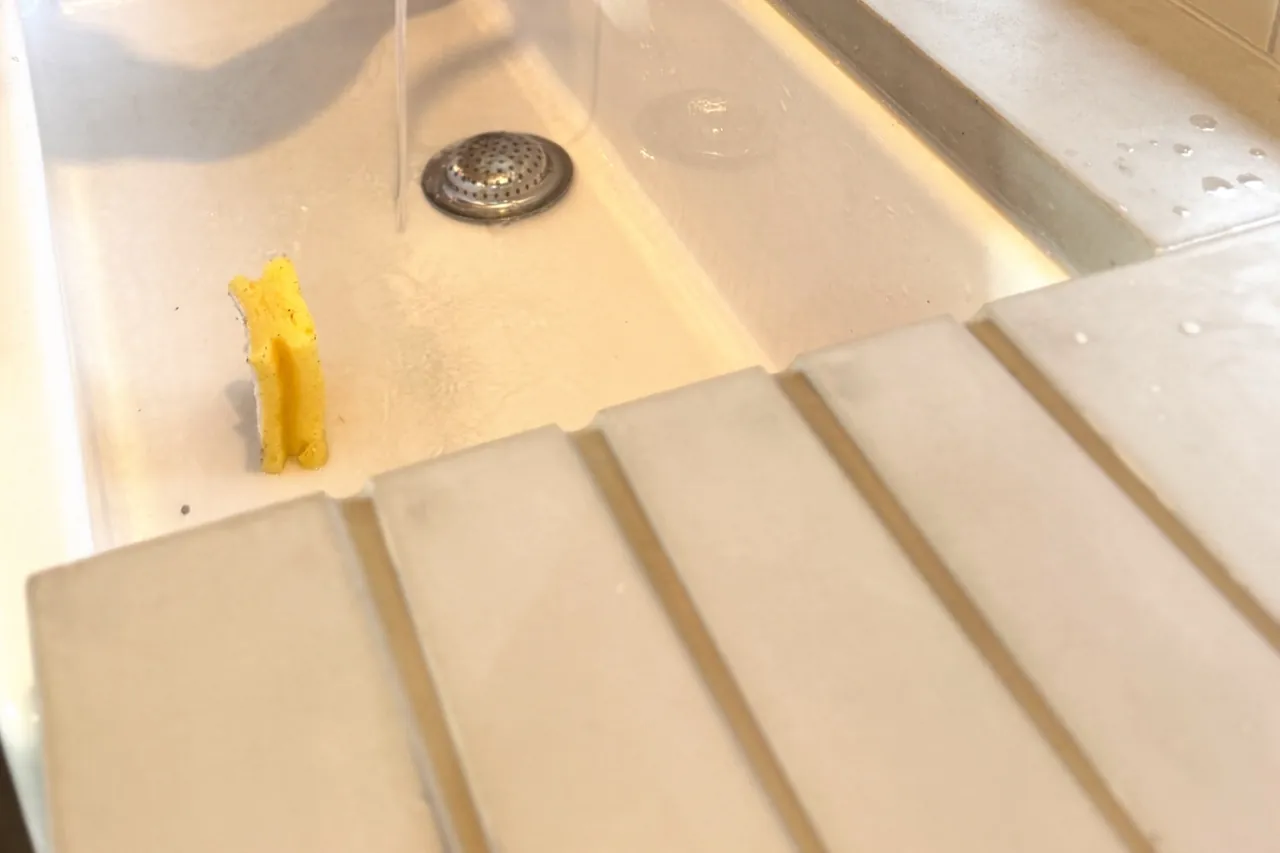
The old granite sat level with the top of the Butler sink, so water on the worktop stayed there or ran onto the floor. There were no drainer grooves, because there couldn’t have been. So everything came up by about 40 mm, brick pillars included, and the new worktop overhangs its rim by 10 mm. Drainer grooves are cast into both sides, formed by 3D-printed inserts in the mould, so you can wash up on either.
Cast to a wall that isn’t square
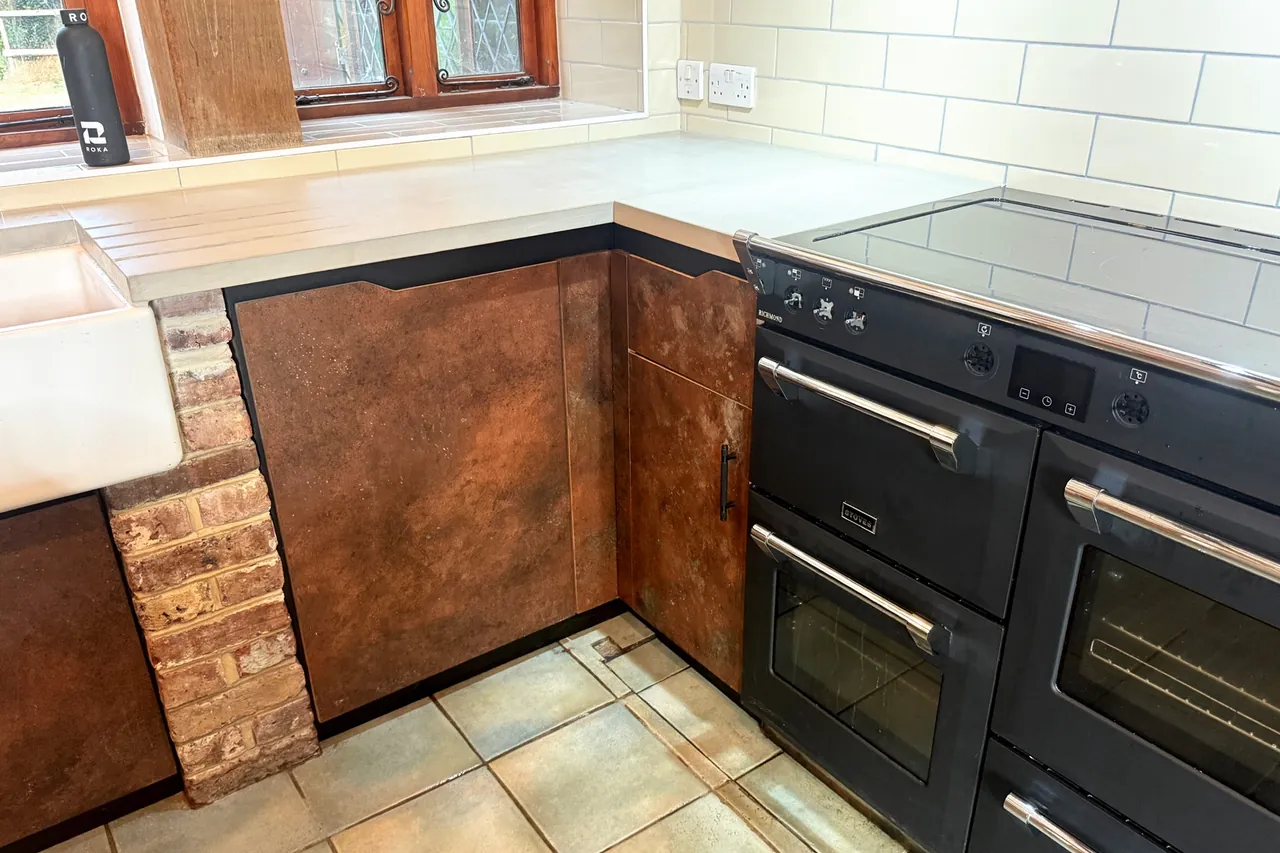
In the deepest corner of the room the wall comes off at a jaunty angle. The old worktop was cut square and made to fit, and you could see it. The moulds were adjusted. Two pieces were cast to the angle of the wall. You wouldn’t notice the angle now.
Copper doors, without copper sheet
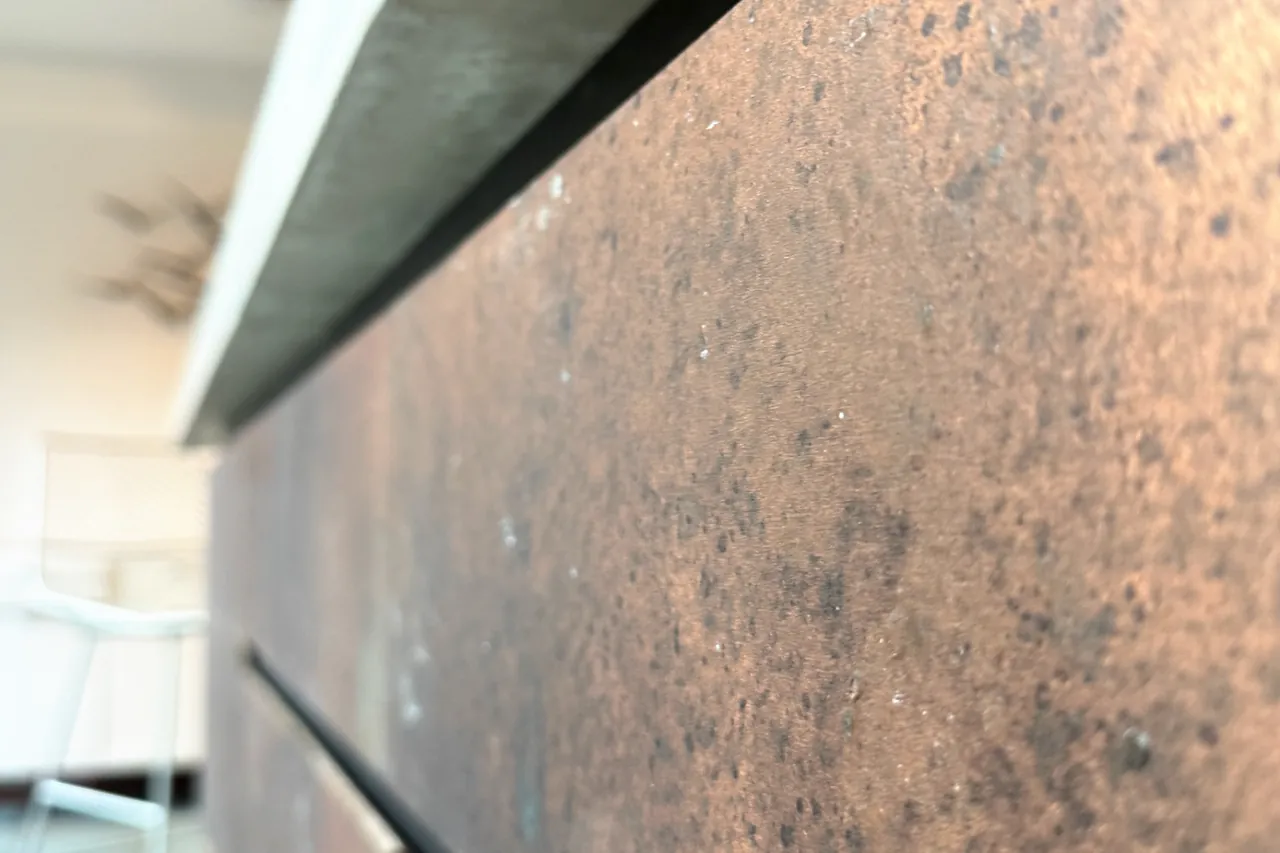
The doors and drawer fronts are birch ply, finished in a paint with real copper in it, then patinated with a carefully chosen set of chemicals. The first test piece was a square of real copper. The paint gave more control, and it went on in about five or six tinted layers, sponged, stippled, rolled and flicked. It came out in deep browns, golds and coppers, with a few green and blue specks.
What Andy and Vicky said
“The attention to detail from the very start was incredible. ROKA began by creating detailed CAD drawings, which allowed us to really visualise the kitchen and refine the design before work began. Being an old farm building, almost nothing was straight or standard, but the team designed and built bespoke pieces that fit the space perfectly. ROKA listened to all of our ideas (and the many changes along the way!) and somehow managed to incorporate them while keeping the overall design coherent. They took our vision and turned it into something better than we had imagined.”
See Chalk in your own light.
This island is Chalk, the palest of our greys. A screen can’t show how it sits in your room, so pick your colours and the sample tablets come to you free, anywhere in the UK.
No cost, no obligation. If anything we make and fit fails through our fault in the first year, we remake it. From year two to year five, we repair it. The guarantee
Tell us about your kitchen
A plan, a sketch or a photo of your room with rough sizes is enough. You’ll hear what’s possible, what it needs underneath and roughly what it costs.
A workshop cast is right for most kitchens. Casting in place takes more days on site and costs more, so you get a straight answer on which yours needs.